Bar Pull With Backplate Installation Instructions
Step 1
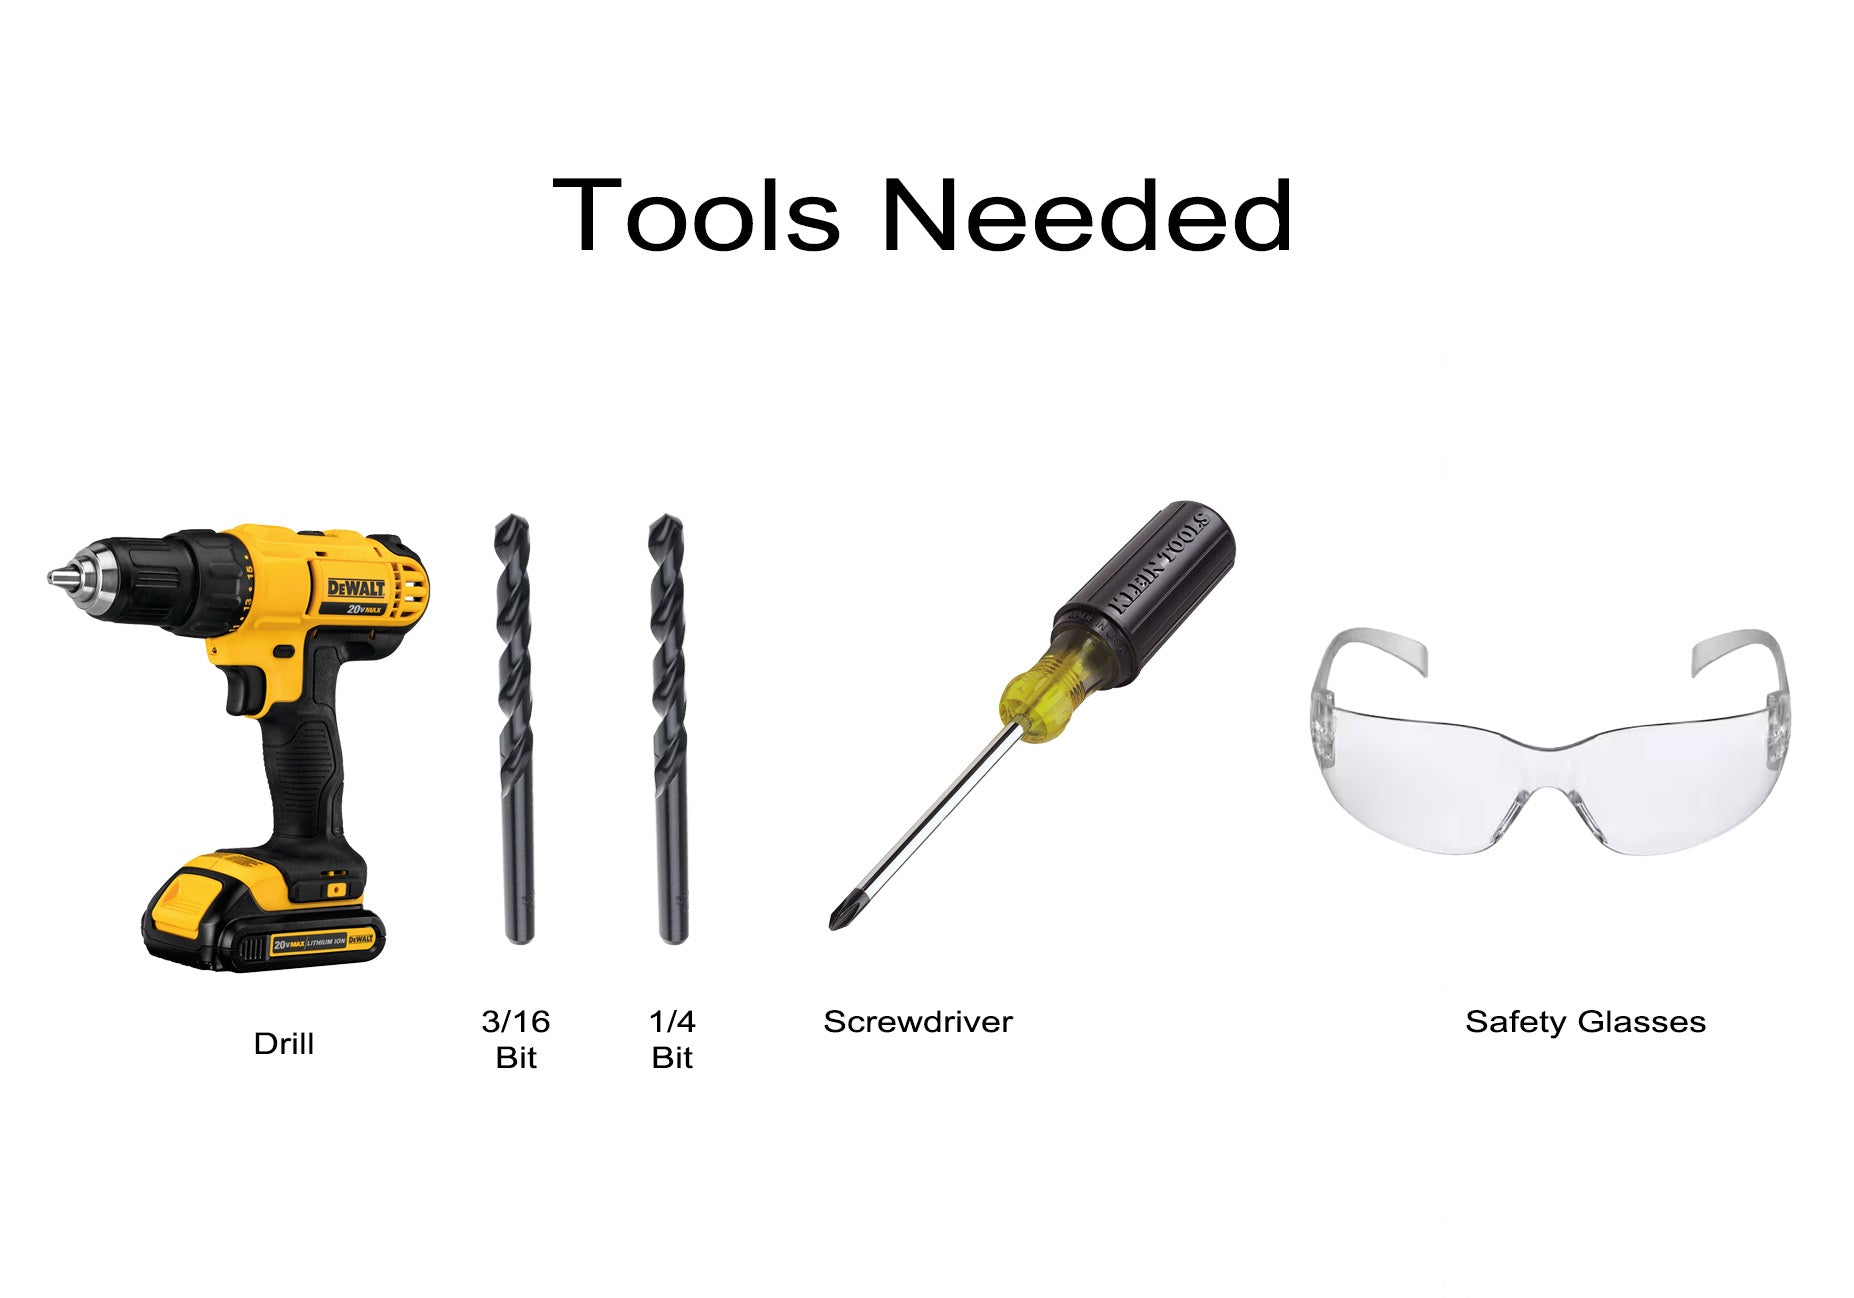
What you'll need ↑
Step 2
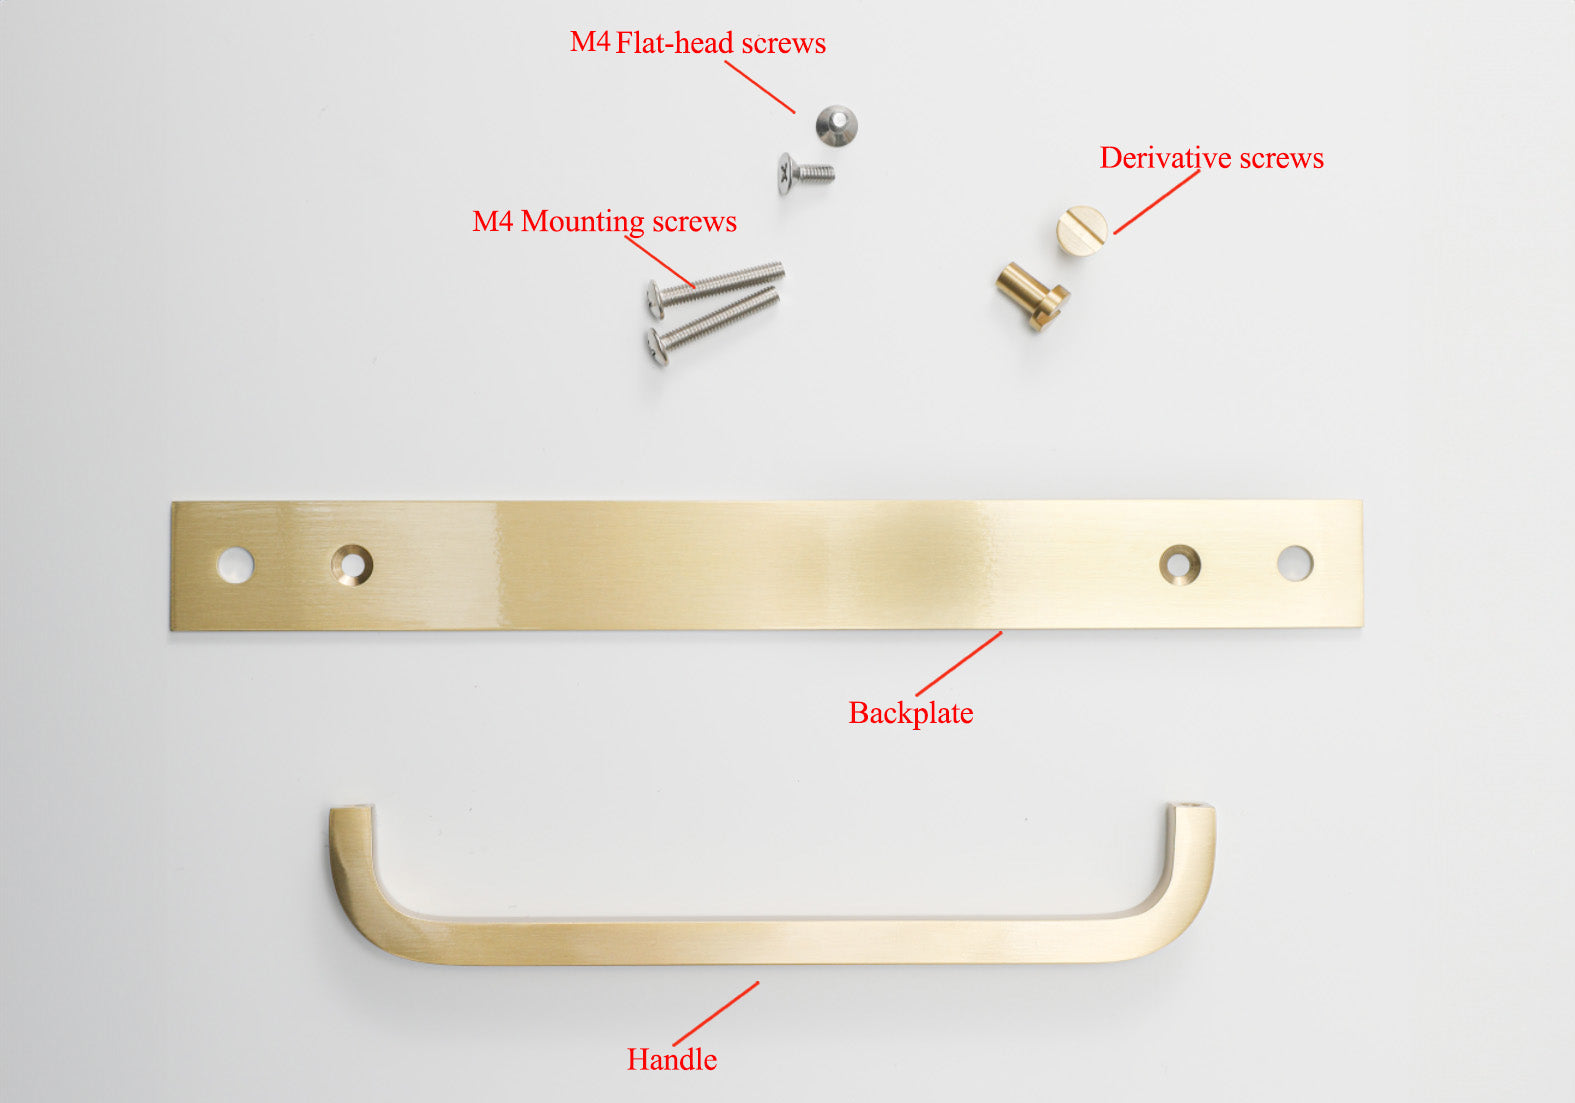
Prepare the Parts ↑
Place the parts included on a smooth dry surface.
Step 3
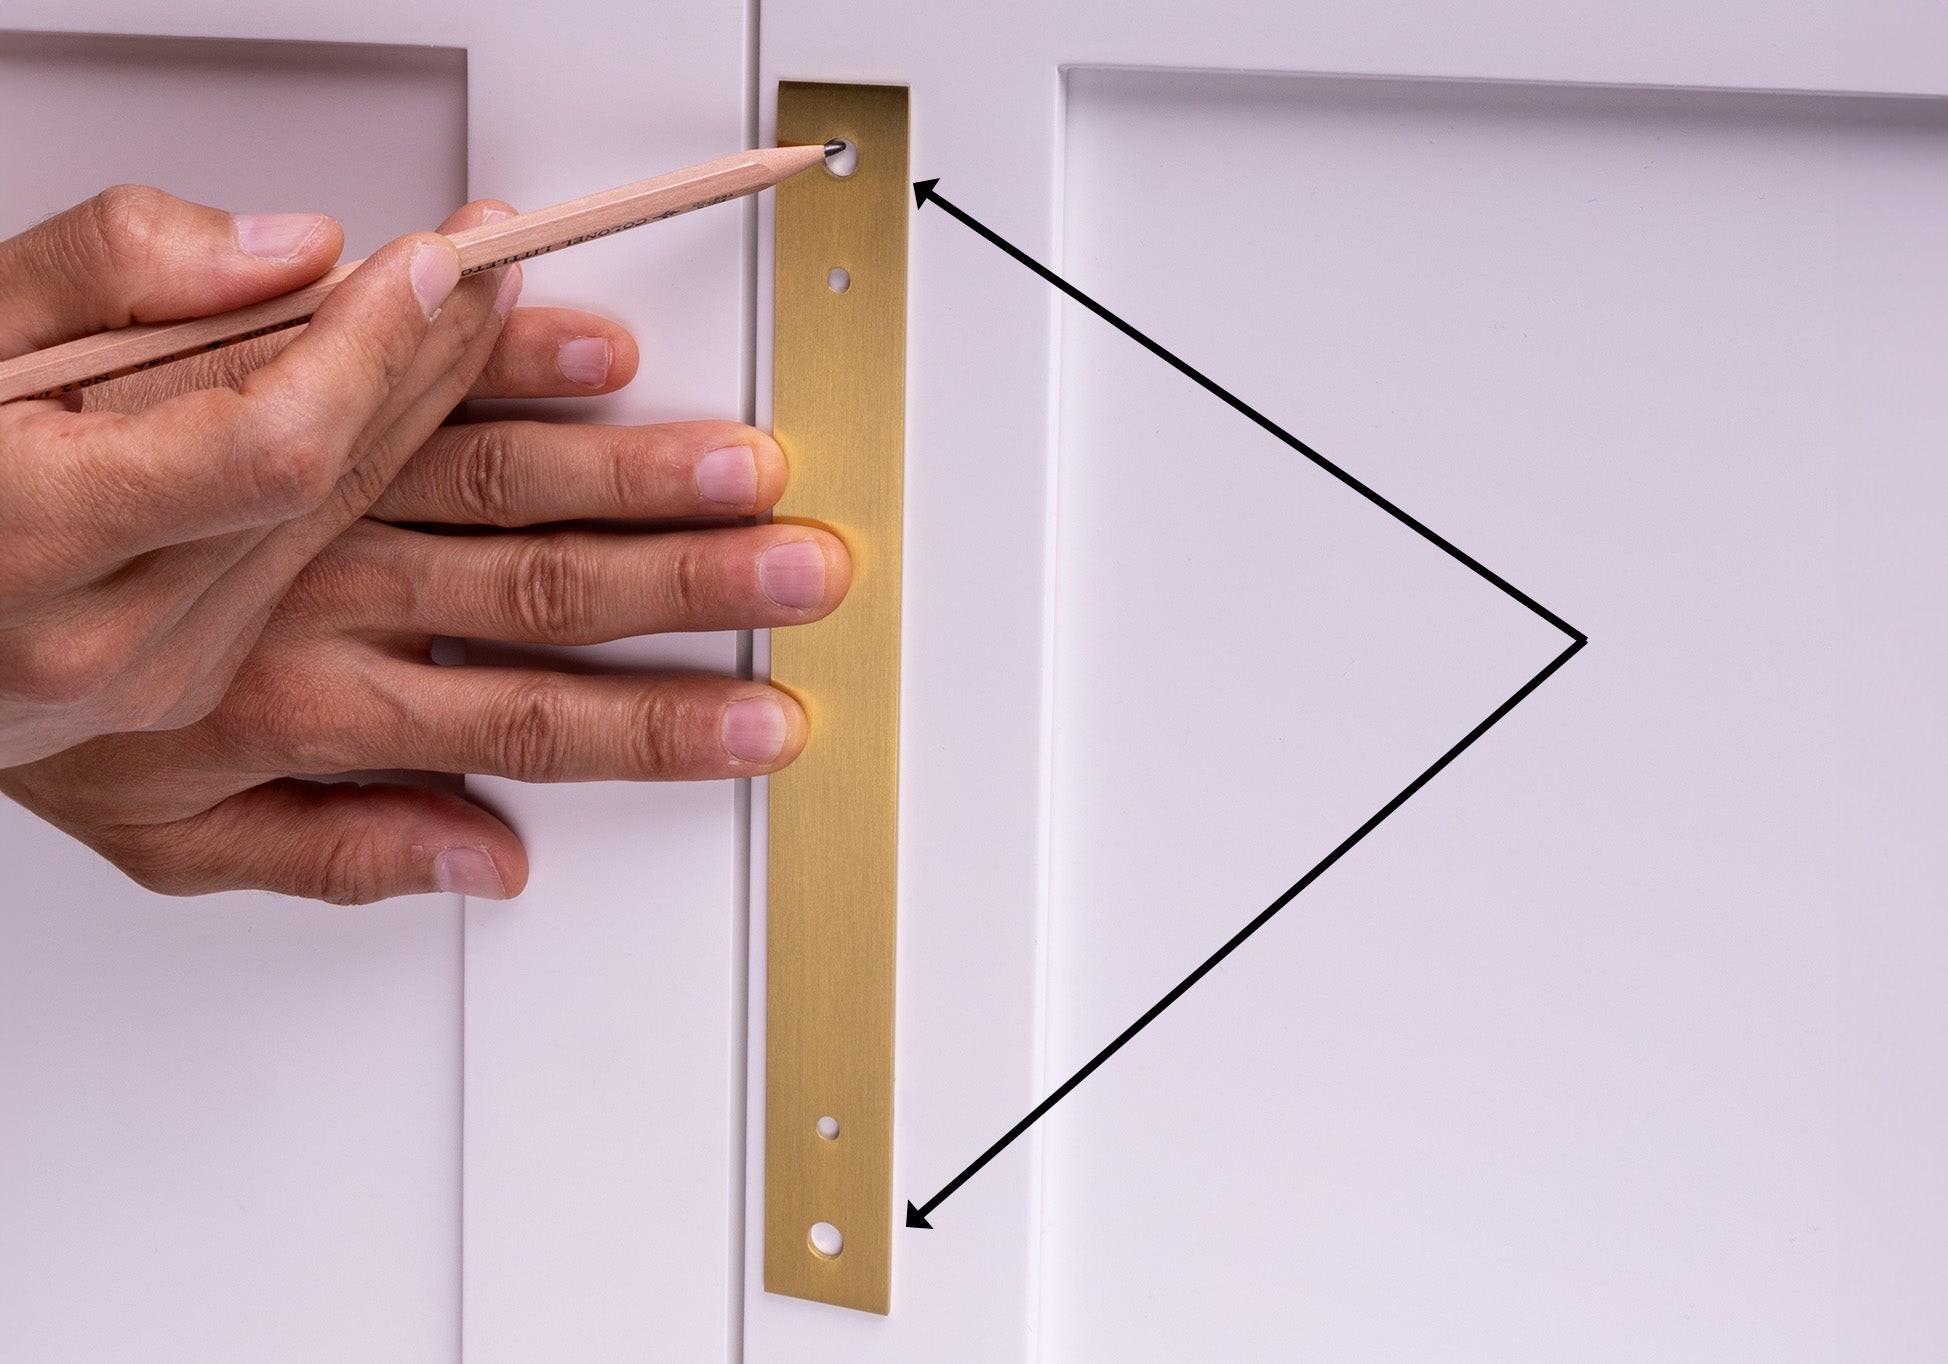
Mark the outer holes ↑
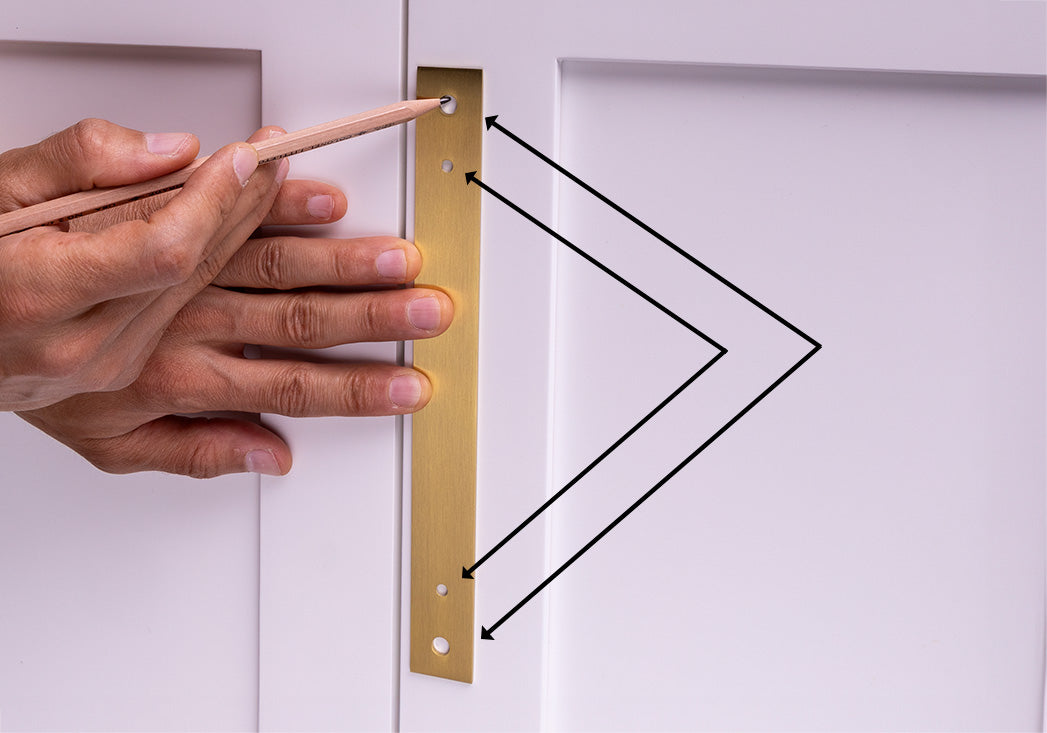
Using the backplate as a template, mark the two outer holes. For appliance applications, drill all 4 holes (see step 9).
Step 4
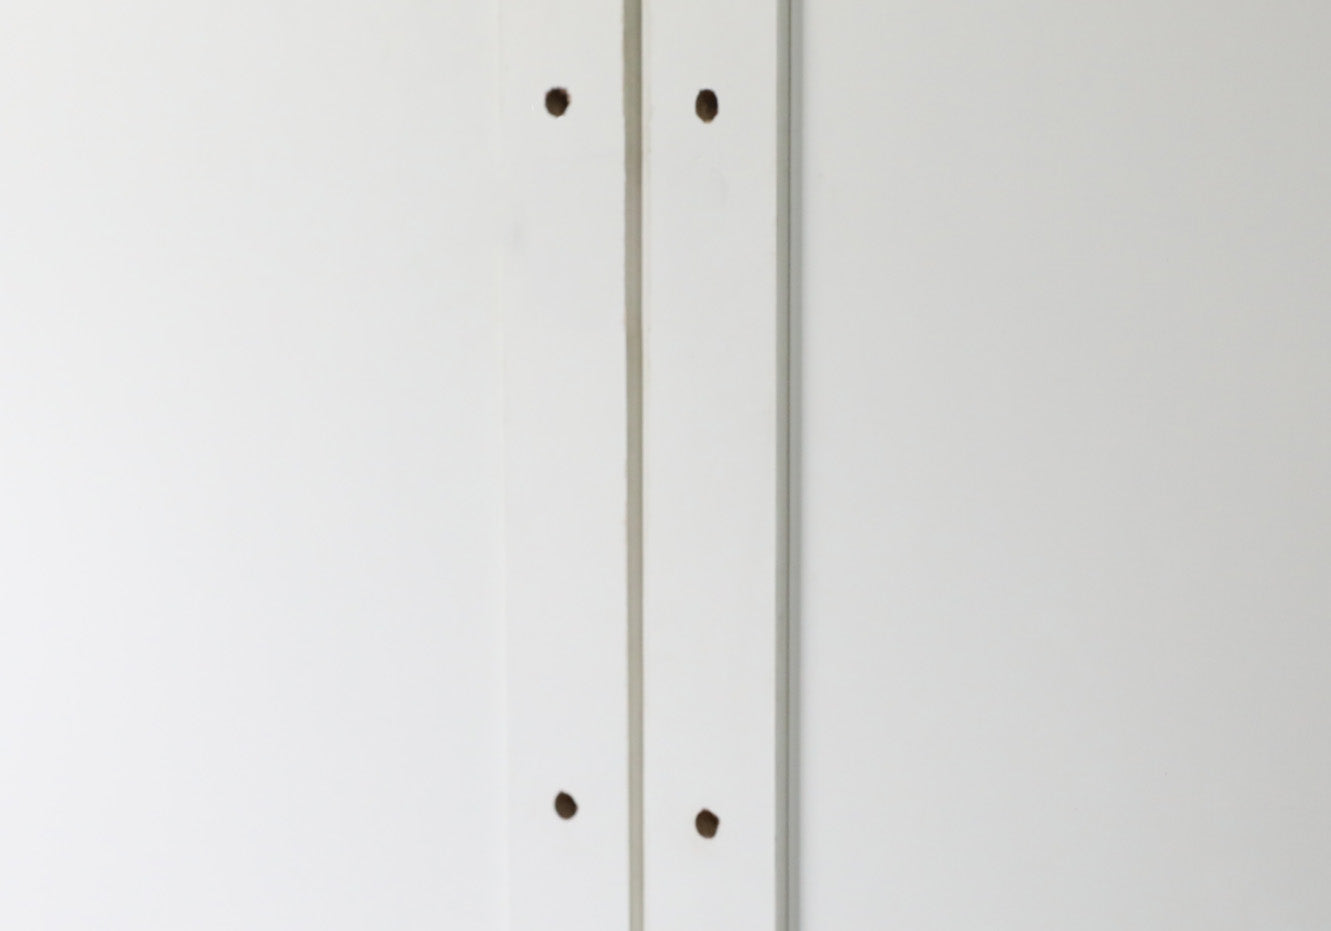
Drill Holes ↑
Using the 1/4" drill bit, carefully drill the marked holes.
Step 5
Secure the pull to the backplate ↑
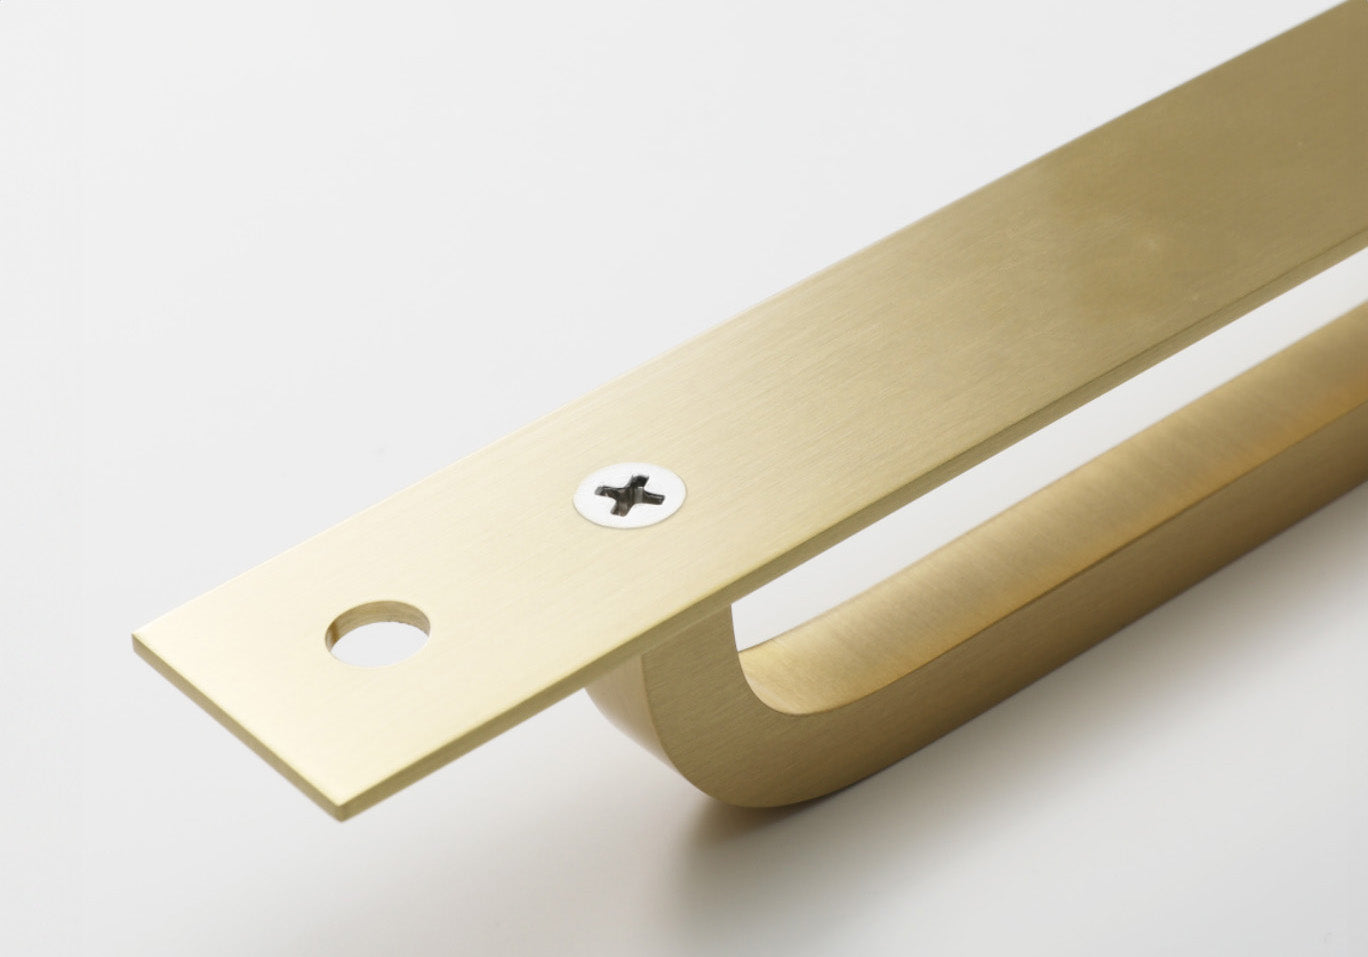
Using a screwdriver, secure the backplate and handle together with the M4 flathead screws (tighten firmly). Be sure the head of the screw sits inside the countersunk side of the backplate.
Step 6
Install the pull and backplate ↑
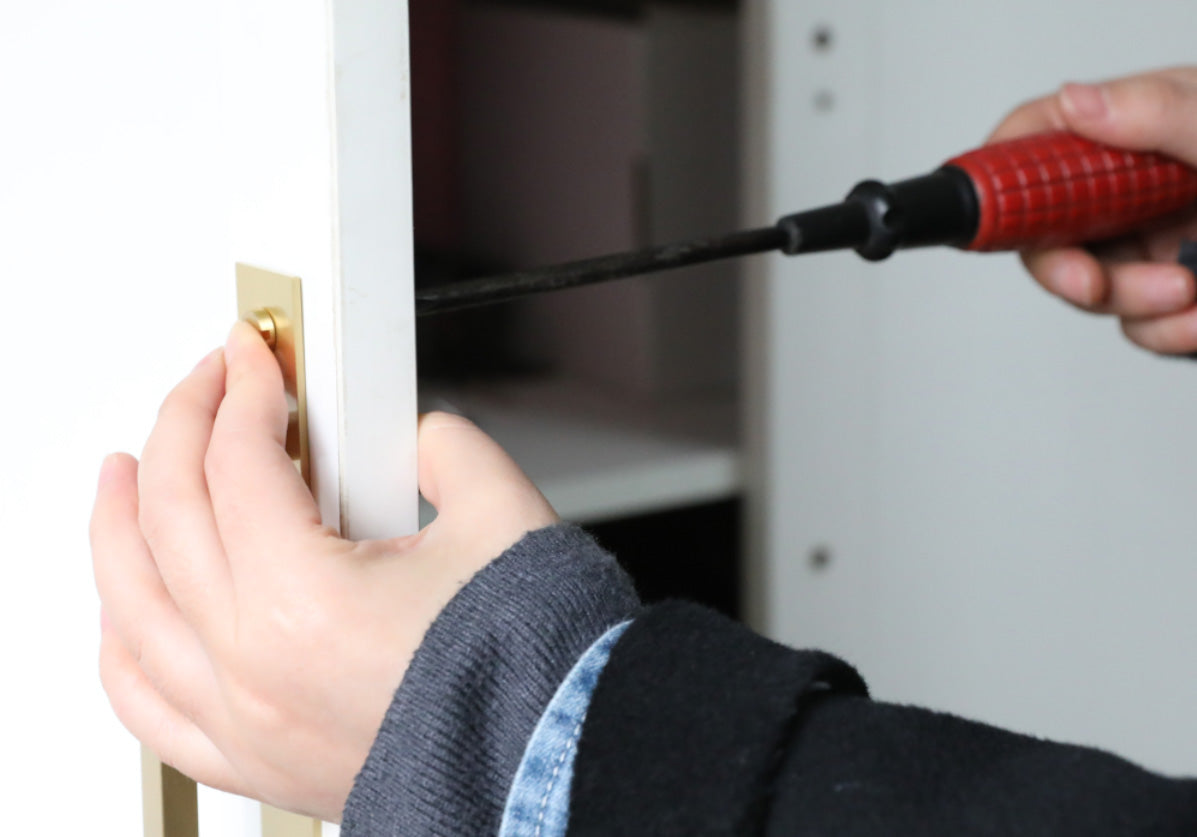
With the handle attached to the backplate, insert the brass decorative screw and mount the unit to the cabinet using the M4 mounting screws.
Step 7
Add washers if needed ↑
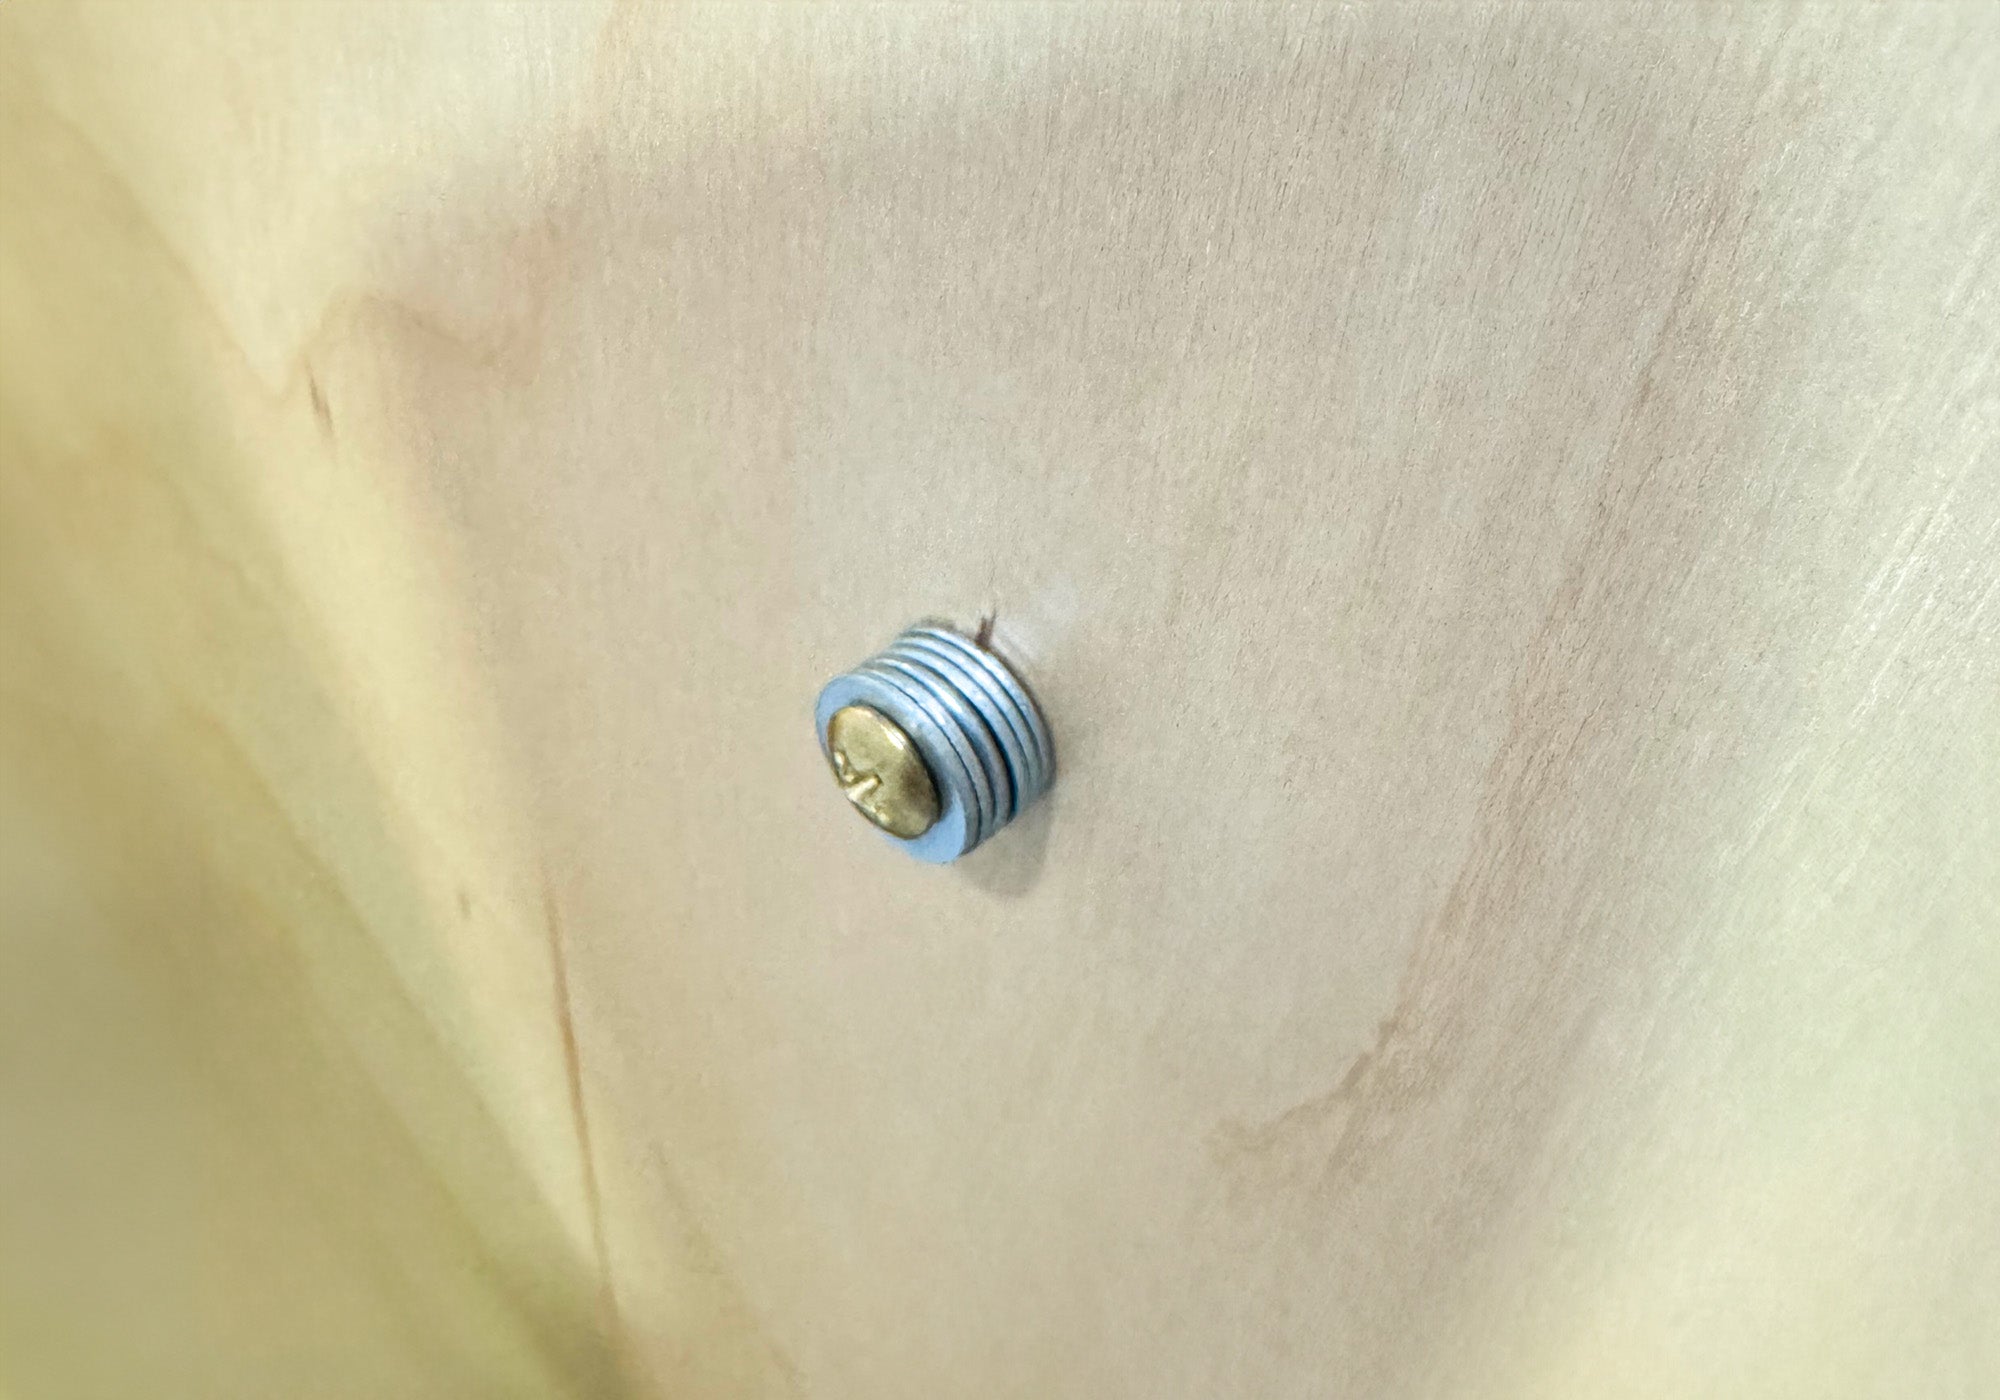
In many cases you will find the screw may be too long to tighten the hardware against the cabinet. In those cases, you can use inexpensive metal washers to shorten the length of the screw. (washers not included).
Step 8
Complete Installation ↑
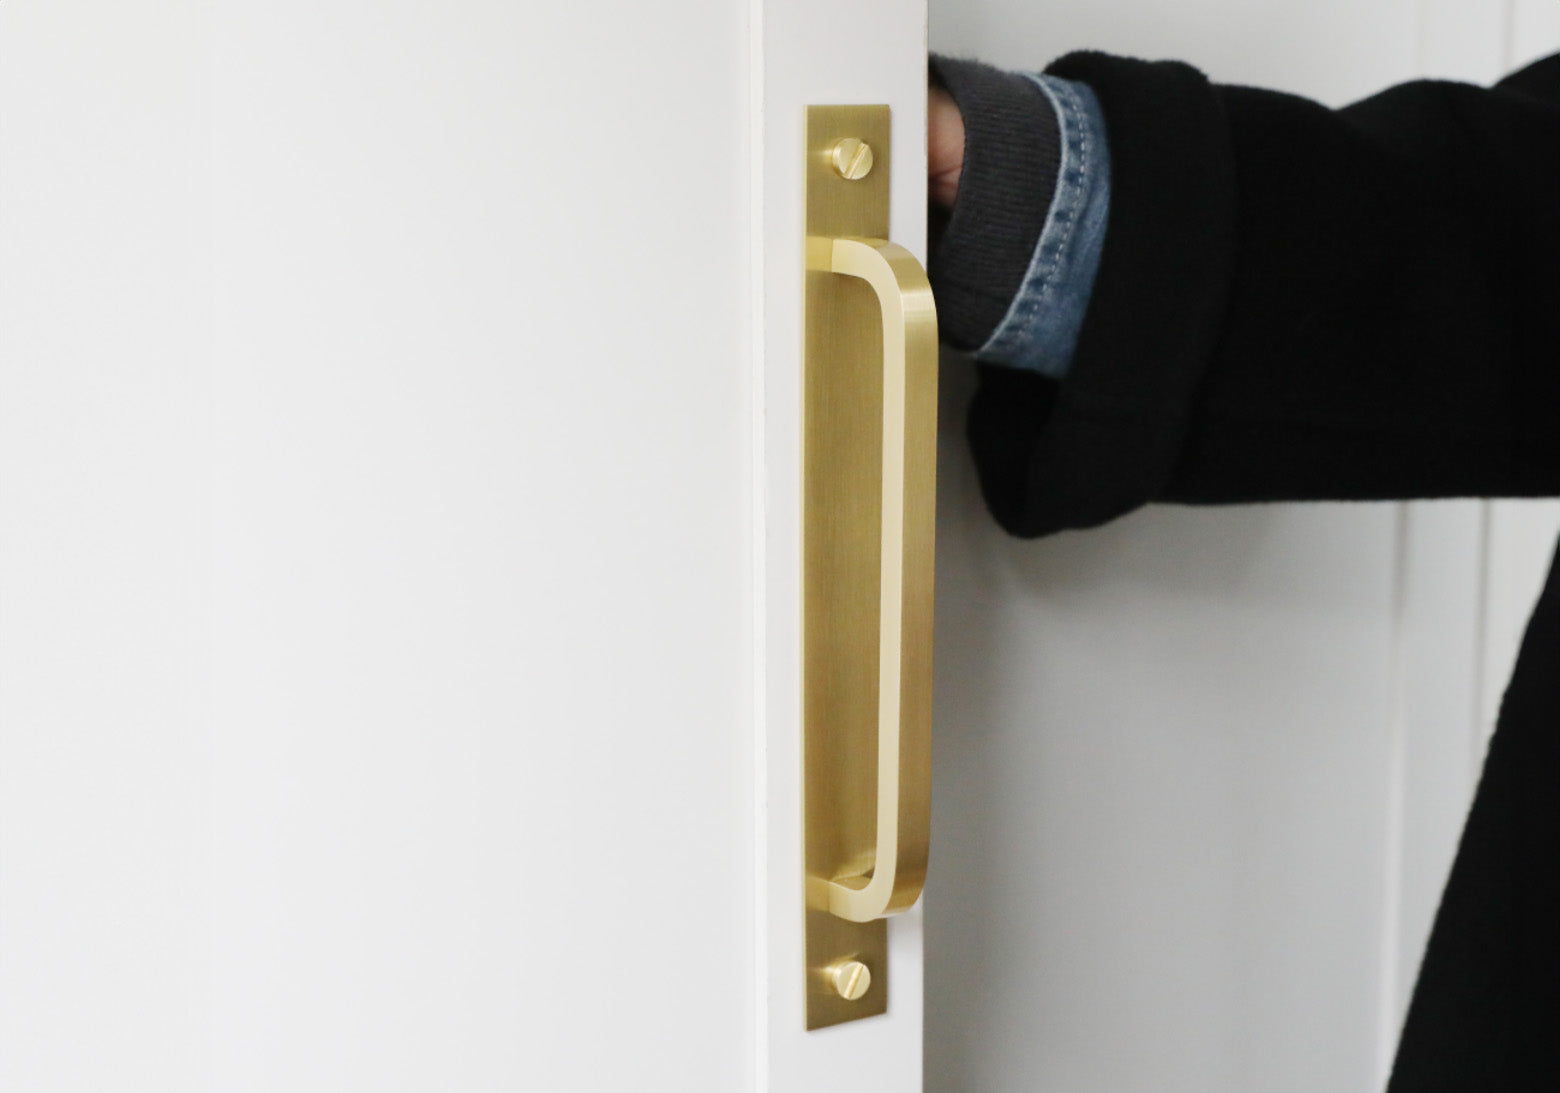
Admire the finished product!
Step 9
Appliance Applications
This option is recommended for appliance and large cabinet applications. You will use all 4 holes on the backplate to mount the hardware. This will be a good option for appliances or heavy drawers and doors.

